The plain workspace
Take this path when none of the three apps is quite your problem: a workshop, a parts bin, a collection nobody has written an app for. You get one workspace and turn on what you need as you need it.
You have an instance running (if not, Self-hosting gets you there). This page is the first hour inside it.
The hour:
- Register, which creates your account and your first workspace.
- Take the short tour and pick a layout.
- Scan or type a few things and let Cobblr build the category around them.
- Flip the result through a couple of views.
- Give things a place with locations and a QR label.
What the workspace is made of
Four things are on the menu, and that is the whole of it:
- Home, where you land.
- Your collections, one per kind of thing you track.
- Locations, the rooms, shelves, and bins things live in.
- The Scan Inbox, where anything you photograph waits.
Everything else, and there is a lot of it, is second-tier: configuration, bundles, fields, wires, views, and the assistant. You never need any of it to start, and When you want more is where it lives.
Create your account and workspace
Open your instance in a browser and register.
- Signup is open on a fresh install set up with the
setup builder (its
.envsaysPUBLIC_SIGNUP_ENABLED=true), so the first account is yours. Once it exists, set that tofalseand restart if strangers can reach the address. - Turned away at the register page? Signup was closed on this instance and you need an invite.
- The email you gave the builder as operator (
SUPERADMIN_EMAILS) makes this account the instance operator. - Registering creates your first workspace with it.
- Invited to an instance someone else runs? Follow their invite link instead and skip the install entirely.
Take the tour
On your first visit to the dashboard, a short guided tour appears (once per user, and only while the workspace is still empty).
- Pick how you want to get around: Top bar runs your modules across the top of the screen, and Full sidebar puts everything in a column down the left. You can change it any time.
- Use Next and Back to move through the main areas, or Skip to leave at any point.
- To see it again later, open the account menu and choose Take the tour.
On a phone the tour opens on a welcome instead of the layout question, points at the menu that holds every place, and describes each step the way a phone works, with no keyboard shortcuts. On a narrow window, where the top bar folds everything except Home behind more, the tour says where the rest went.
Once the tour closes you're on the dashboard. A fresh workspace doesn't ask you to configure anything, only what you want to do: add your first thing and let Cobblr work out the rest, start from a ready-made bundle, or browse every way to start:
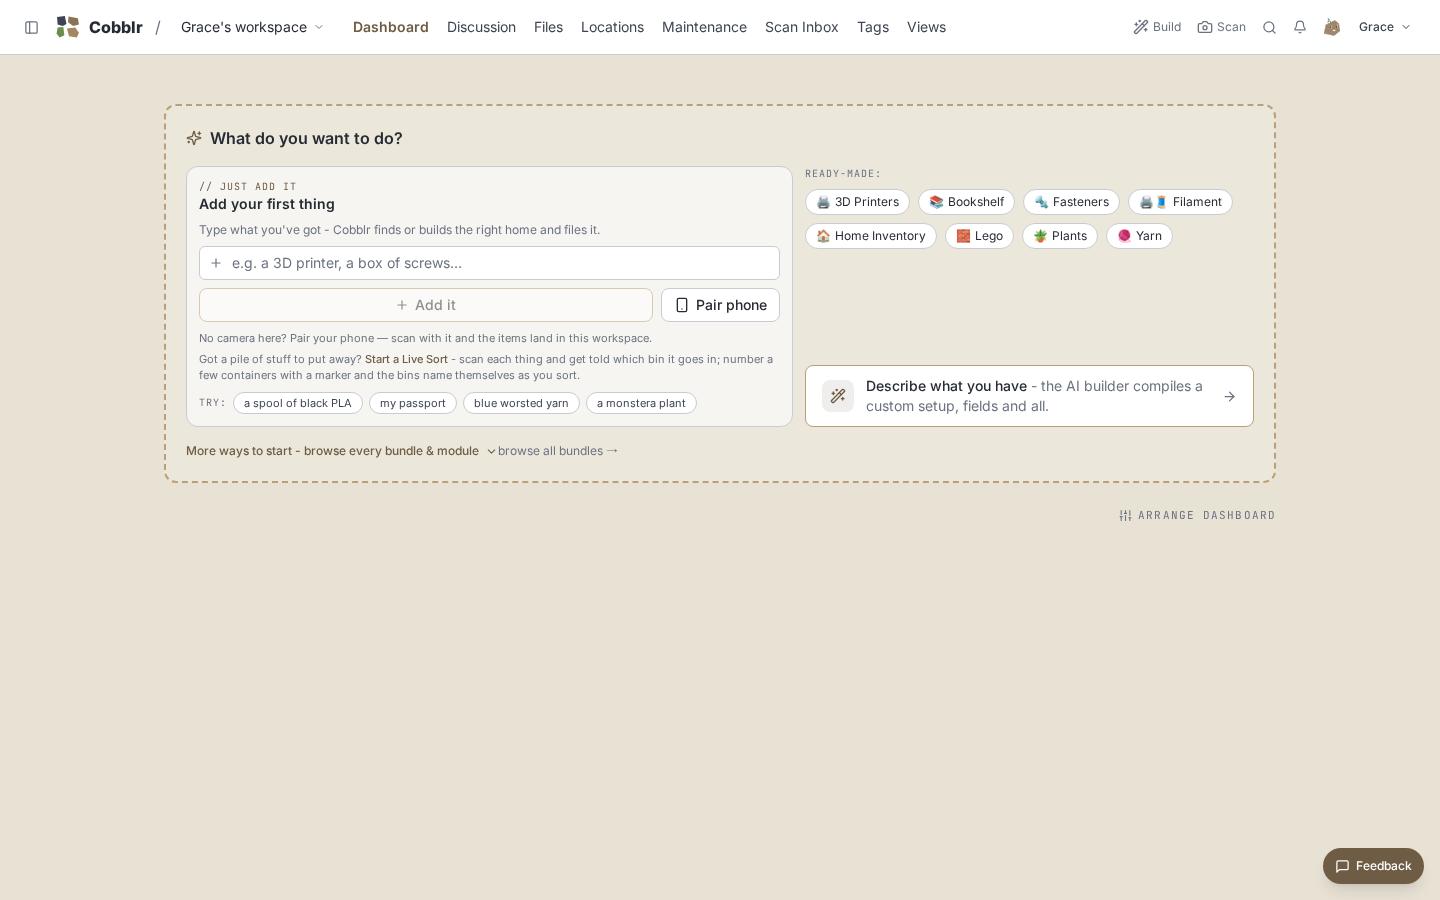
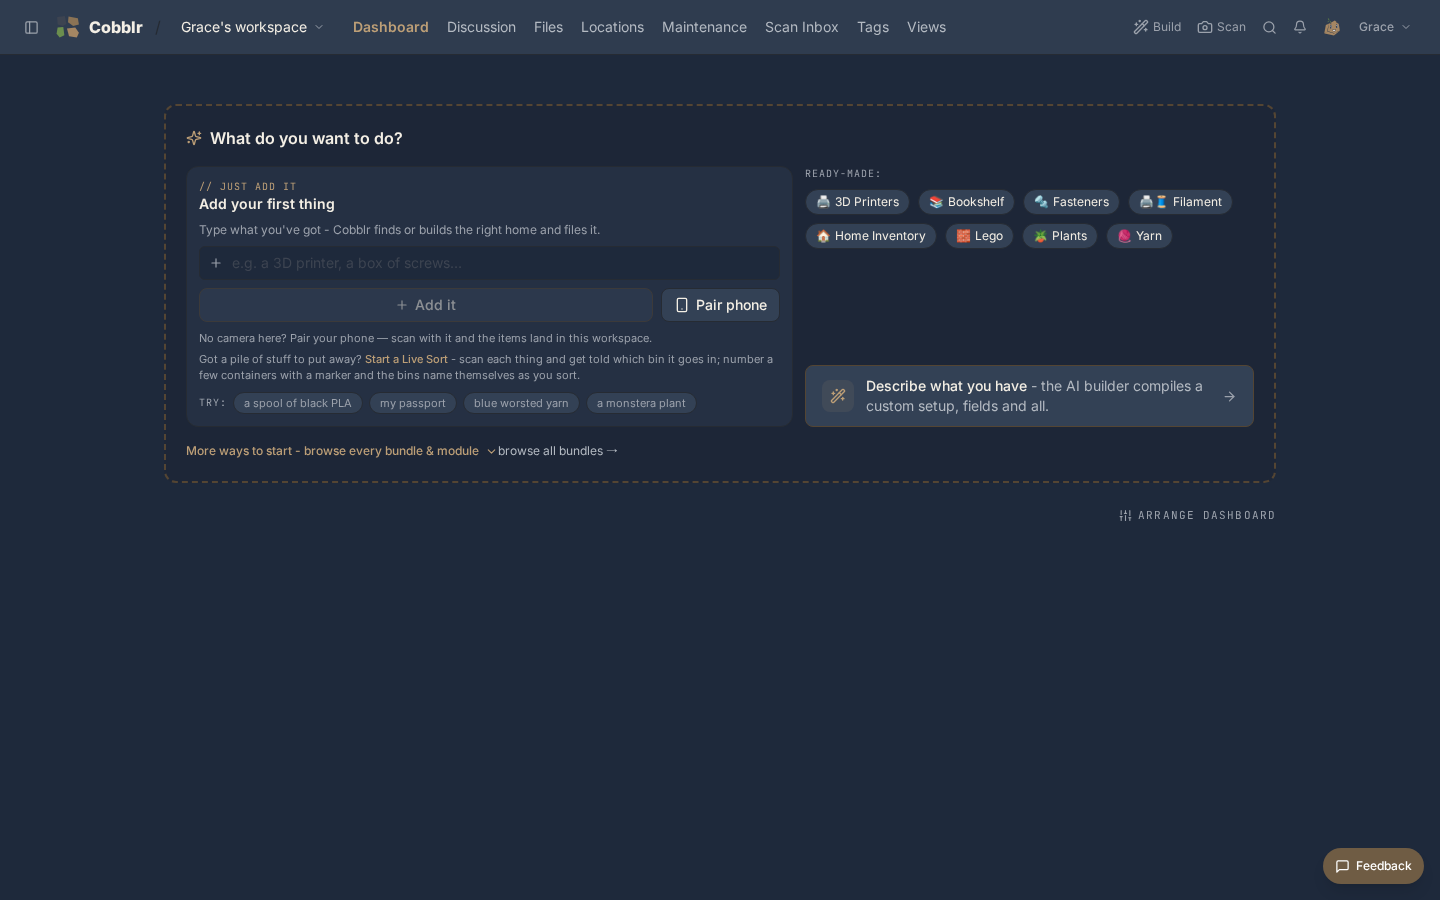
Tour details: where the layout choice is kept, and what the tour shows
Picking a layout switches the whole app immediately, so you see the real layout before you commit. On desktops the choice follows your account, so signing in elsewhere keeps the layout you set. Phones keep their own menu. The tour walks you through the main areas one at a time, with a highlight on each and a short note about what it does.
Capture a few things
You don't have to decide on a structure first.
-
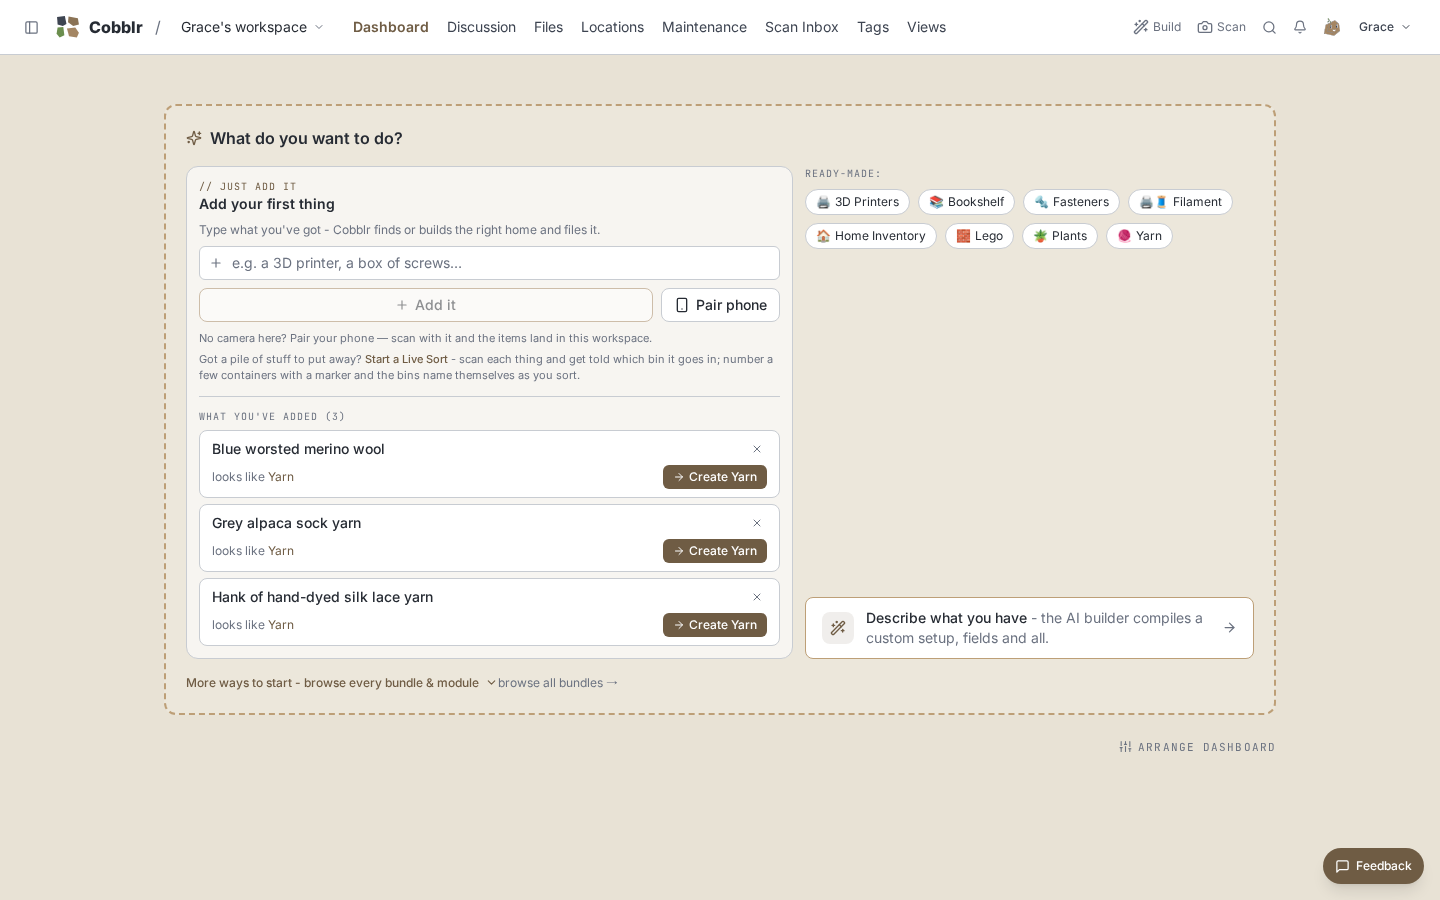
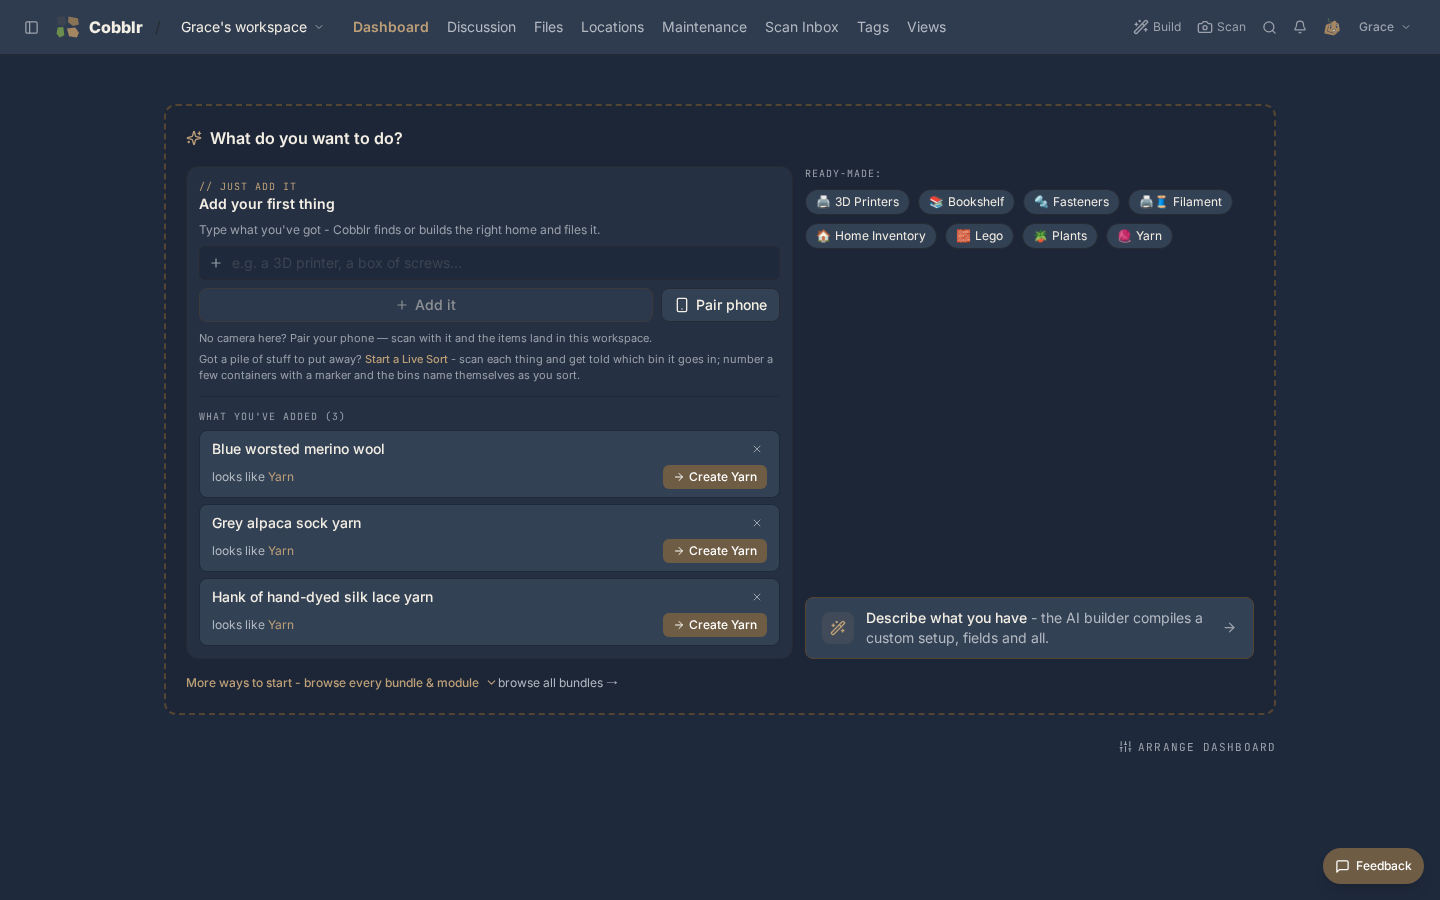
Type what you've got into "Add your first thing" (or pair your phone and scan it). Cobblr identifies each thing and offers to set up the right home for it:
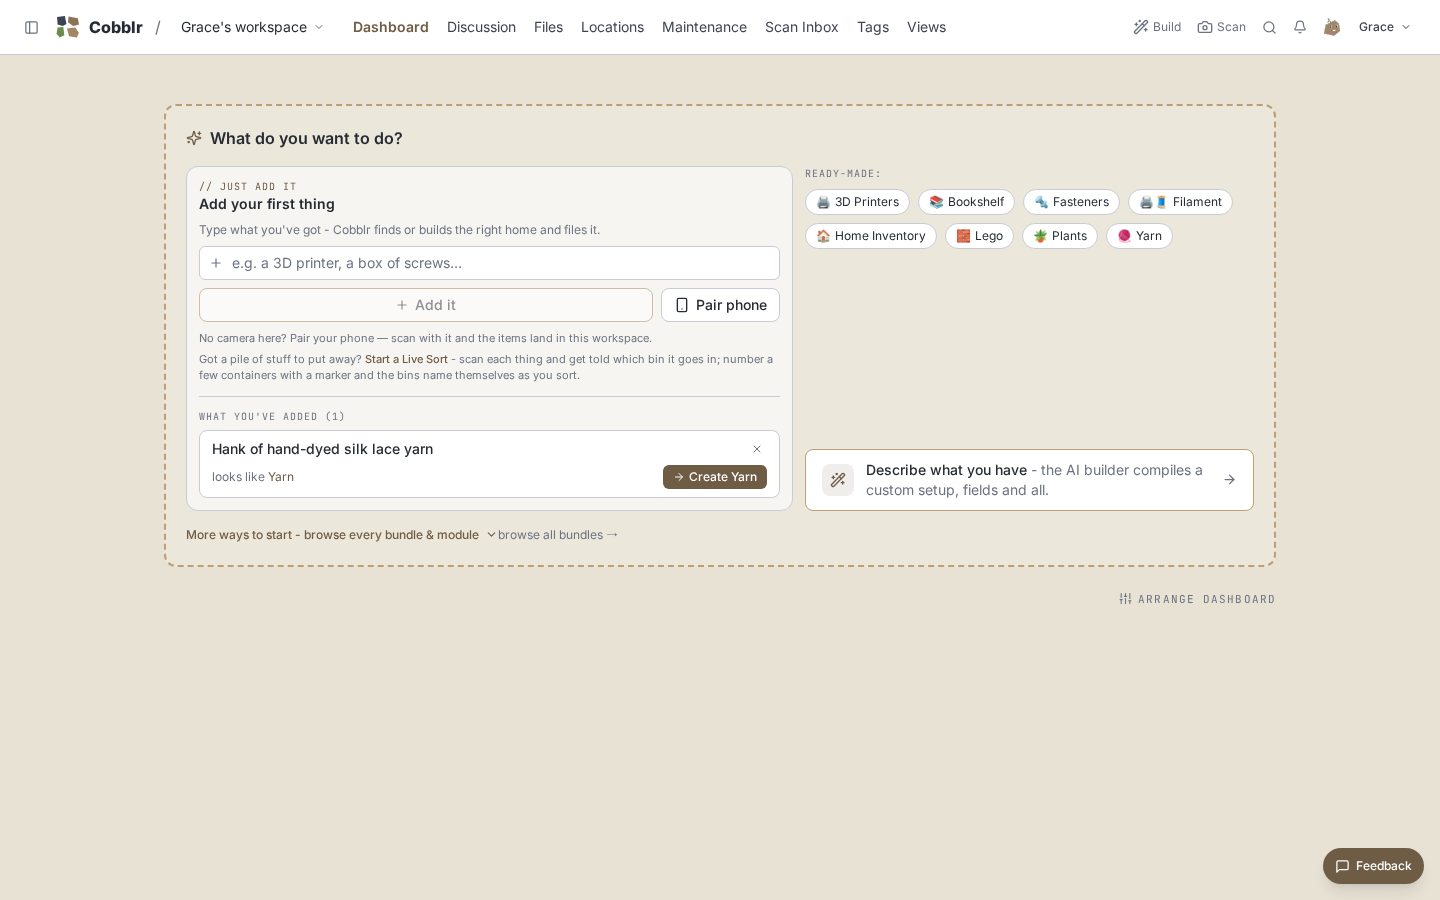
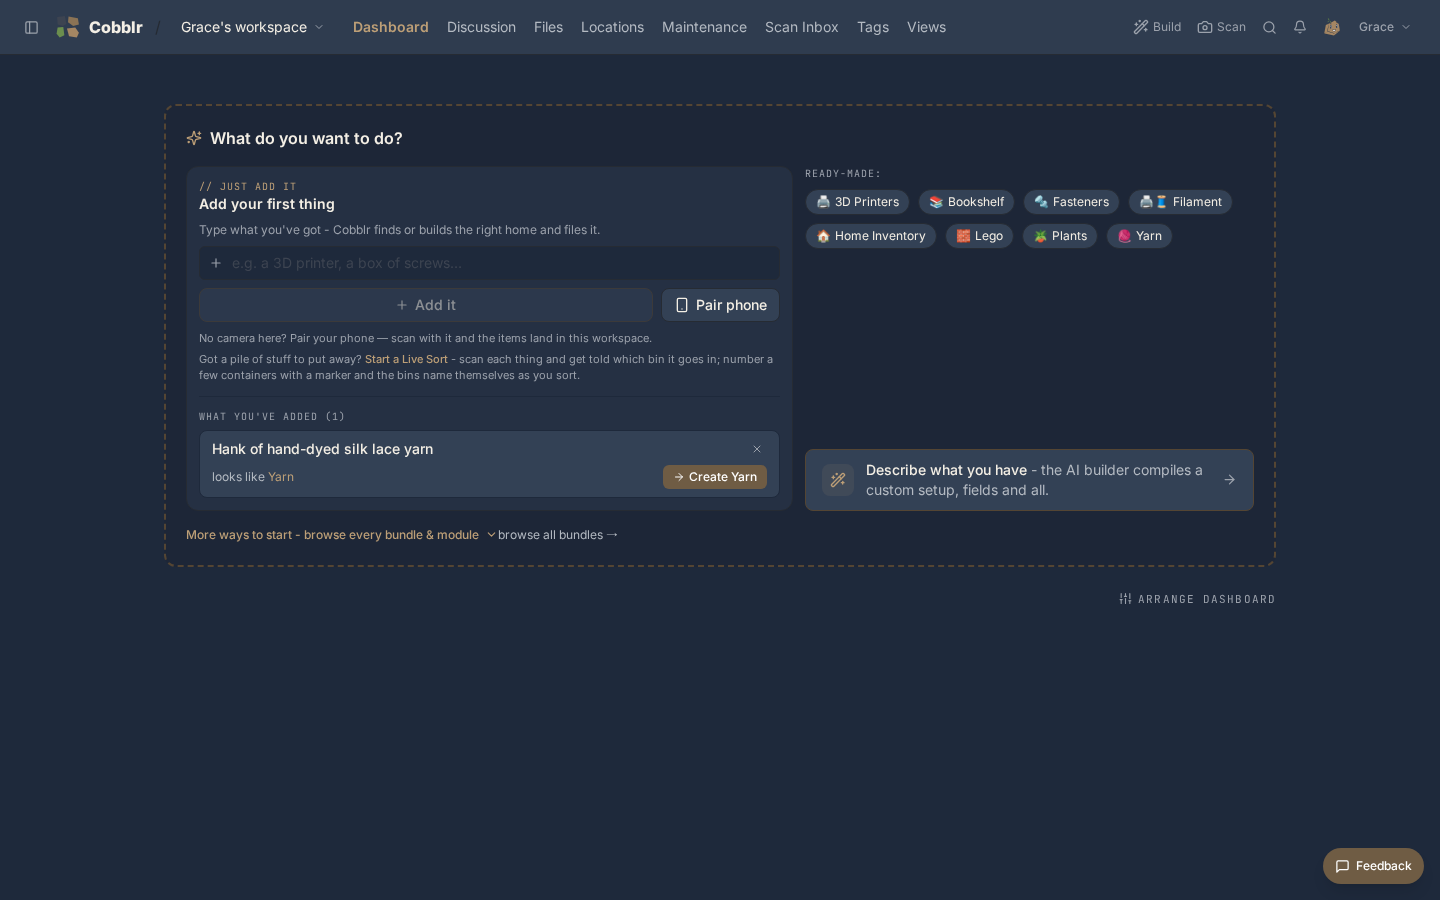
-
Add a few more of the same kind and they line up, each recognized:
-
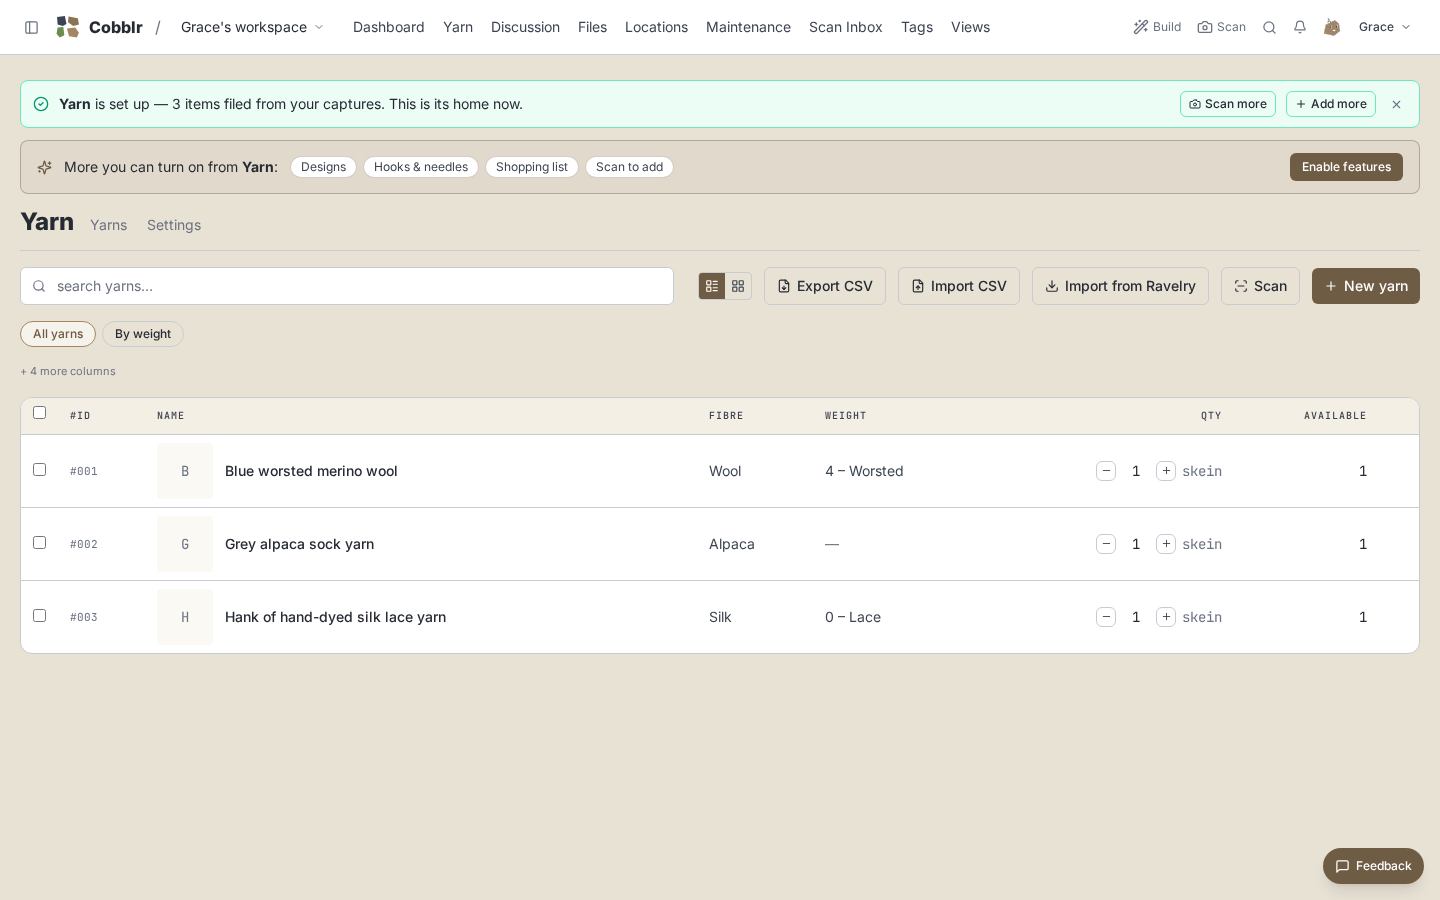
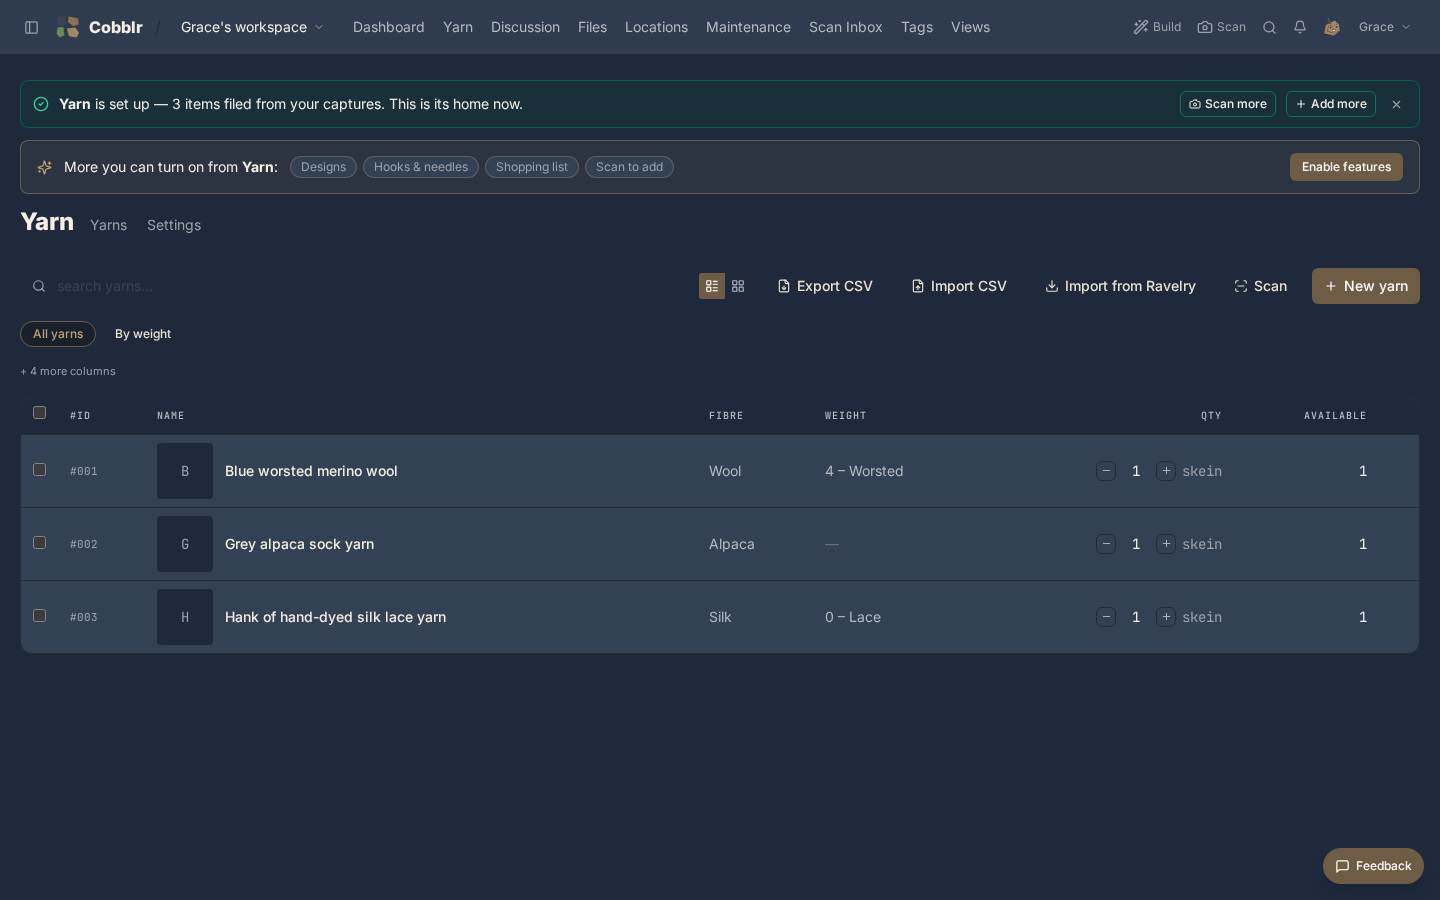
Accept the offer. The category is built with your things already filed into it, fields and all:
- No camera to hand? Try a sample scan on the first screen runs a real product barcode through the scanner, and the item lands in your inbox with its name and photo exactly as your own scan would. Photos beside Scan takes pictures you already have, several at once, and a PDF or CSV there is read as a receipt.
- Typing a code or a model number works too. A product code goes to the catalog like a scanned one, and a model or part number ("PB287Q") is looked up on the web and comes back with the product's name and picture.
- Already know what you want? Skip the captures and start from a bundle: a ready-made setup for a kind of thing (home inventory, a 3D-printer workshop, a yarn stash) that you can reshape afterward.
- More ways to start, under the capture box, opens the whole catalog in one place with a single search across all of it.
- A blueprint file a friend exported builds a workspace too: the New workspace dialog takes it directly.
What the catalog holds
Ready-made bundles (one kind of thing, fields already shaped), full setups that wire several modules together, and blank modules you shape yourself.
Look at it a few ways
Whatever you tracked, it's the same data under different lenses.
- Open a view and flip between the table and the gallery.
- Add a filter and save it as its own view (a "what's low" list, a "still sealed" shelf). Views are cheap. Make ones that match how you look for things.
Give things a place
- Add a few locations that match your space (a room, a shelf, some bins) and set them on your items. Now "where is it" is a filter, not a memory exercise.
- When you're ready, print a QR label for a bin, stick it on, and a phone scan jumps straight to what's inside.
What a fresh workspace already has
- Always on, nothing to enable: scanning and the inbox, locations, tags, views, search, files, the calendar, maintenance, discussion, notifications, templates, units, and the assistant. Those are the platform-shaped foundations.
- You choose the domain modules, the ones that add a kind of thing to track: Inventory, Assets, Machines, Projects, Purchases, Sales, Lists and the rest. Capturing into a fresh workspace builds the first one for you.
- The switches for the others are under Configuration then Modules, and a bundle turns on a whole coherent set at once.
Already have a spreadsheet?
You do not have to re-type a collection you already keep. The migrations guides cover bringing in a CSV or a spreadsheet with your columns mapped to fields, and moving over from another tool. Import early rather than after hand-adding fifty things.
From here
- Scanning from your phone? The camera needs HTTPS. If you took the install guide's plain-HTTP fast path, this is the moment to add it. The Tailscale option takes a few minutes and changes nothing else.
- Enable more modules as needs appear: projects, purchases, labels. Each turns on per workspace, and nothing you don't enable gets in the way.
- The Inventory app example shows a complete setup, with screenshots, built from the pieces you just touched.
- Bringing in a friend? Share a blueprint of your setup and they can build a new workspace from it, or the operator can mint them an invite.