Scanning
Point your phone at a barcode, or take a photo of something without one, and Cobblr works out what it is. You confirm and file the result in the Scan Inbox.
The loop:
- Open the scanner (the camera button in the top bar on your phone).
- Hold it on one barcode after another. It reads continuously, no shutter. Press the shutter only for something with no barcode.
- Everything lands in the inbox. The camera never files anything, so you can shoot a whole shelf without stopping.
- In the Scan Inbox, confirm each item (or a whole batch) into one of your tables, with a location.
What to point it at
Could you find a picture of this thing on the internet? Then Cobblr probably can too. Stop at the first step that applies:
- Still have the packaging? Start there. The box usually has a barcode and says exactly what the item is.
- A barcode on the item itself? Scan it.
- Writing or a label that says what it is? Photograph that: the model name, the spec sticker, the tag.
- None of the above? Take a picture of the item itself and Cobblr will try to work out what it is.
A barcode is looked up in product catalogs, and a photo is identified by vision. Nothing is saved until you confirm it. Scan the pile first, sort it afterward.
The camera
- The capture drawer appears above the shutter after every shot: the photo, the name once identified, a quantity stepper, and Undo for a mis-scan. Ignoring it is fine. Swipe it up for the full sheet: cover photo, name, quantity, and location while the thing is in your hand.
- + Photo arms the shutter so the next shot joins the item you just captured instead of becoming a second record. Retake replaces the photo and re-identifies.
- Choose (beside the shutter) attaches a picture already on your phone: a listing screenshot, a spec sheet. A chosen picture is attached only. It will not rename the item or become its main picture unless you make it primary.
- A barcode result shows as a Scanned sheet: Save & next, Discard, or Not it, retake (re-identifies from your own shot). All three work the instant the sheet opens, even mid-lookup.
- Light and zoom handle themselves. The flash comes on when a scan is failing in dim light, not just because the room is dark. Auto-zoom, any angle. Manual flash sits next to the shutter.
Camera details: what each control does at the edges
Reading a barcode also keeps the picture from that instant, so one scan gives you the code and a photo. The photo is what tells a single unit from the nine-pack carrying the same UPC, and it reads serial numbers or service tags printed nearby.
A photo that fails to save stays in the drawer with a Retry, so a dead spot costs nothing. While a sheet is open the viewfinder dims and barcode reading pauses, so a stray code can't interrupt an edit. The next capture always starts with the sheet closed. While + Photo is armed the shutter turns gold and barcode reading pauses (labels usually carry codes of their own). A code that isn't a product barcode (a serial, an asset tag) gets no guessed name. The photo does the identifying.
A picture you take and a picture you choose are treated differently on purpose: a photo you take now is the thing in front of you, so it can become the main picture and help identify. A chosen file is more often a screenshot than the object, so it is attached without changing anything. Use the re-identify button on it if you want it read.
Auto-flash lights a failing barcode within about a second, while plain darkness with nothing scannable has to hold for a few seconds first, so glancing at a dark shelf does not turn it on. It goes off when the scan lands or lighting improves, and stays off for the session if you switch it off by hand. Auto-zoom steps gently, holds while reading, and widens when nothing is in view.
If scanning misbehaves on a device, add ?diag=1 to the scanner URL for a live
readout (decode engine, lenses, autofocus, zoom and torch support, decode
timings, one tap to copy). ?zoom=N fixes zoom by hand, ?scandelay=N and
?lens=... try a different cadence or lens.
Scanning a VIN
Point the camera at a car's door-jamb barcode and you get a record already named ("2022 Toyota Corolla Hatchback") with make, model, year, body, trim, fuel, and the color read from the paint code on the same label. Typing a VIN into a vehicle form fills the same fields.
How VIN decoding behaves
The 17-character VIN identifies the exact car. The details come from a lookup against the free NHTSA database. The code's shape decides the route, so a UPC still heads to the product catalogs. Only empty fields are filled, nothing you typed is overwritten, and a bad or partial VIN says so instead of guessing. A garbled scan is repaired only when the VIN's own check digit proves the fix. Works on the Vehicles bundle and any table with make, model, and year fields.
Serial numbers
A serial or service tag the photo can read files into the item's Serial number field, exactly as printed. The reverse works with no setup: scan a serial you already track and Cobblr opens that record. If two things share the serial, it asks which you're holding. The field is relabelable per table ("Service tag", "VIN").
The inbox
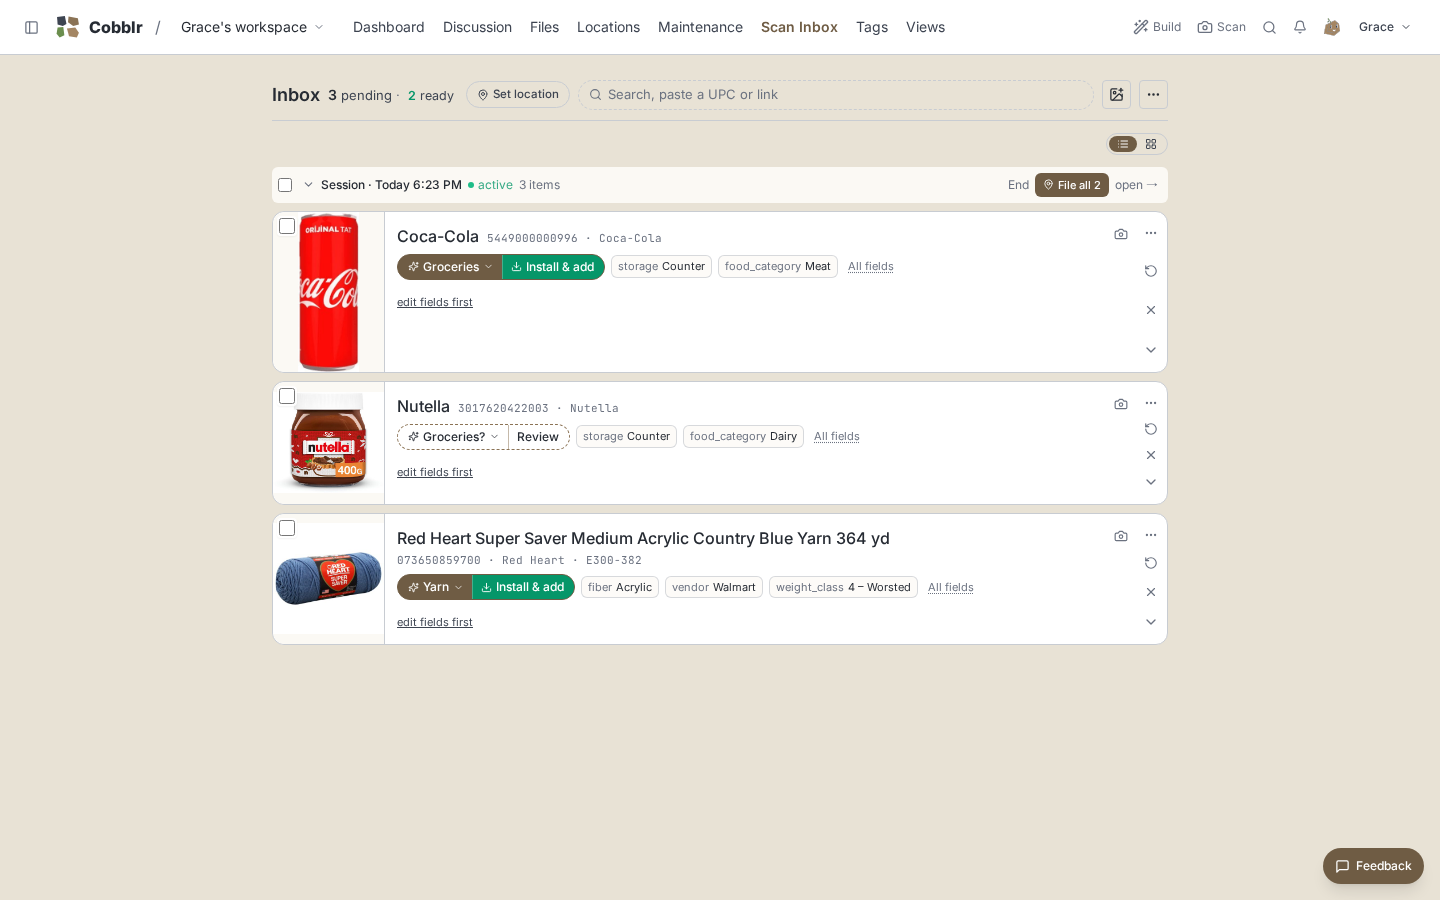
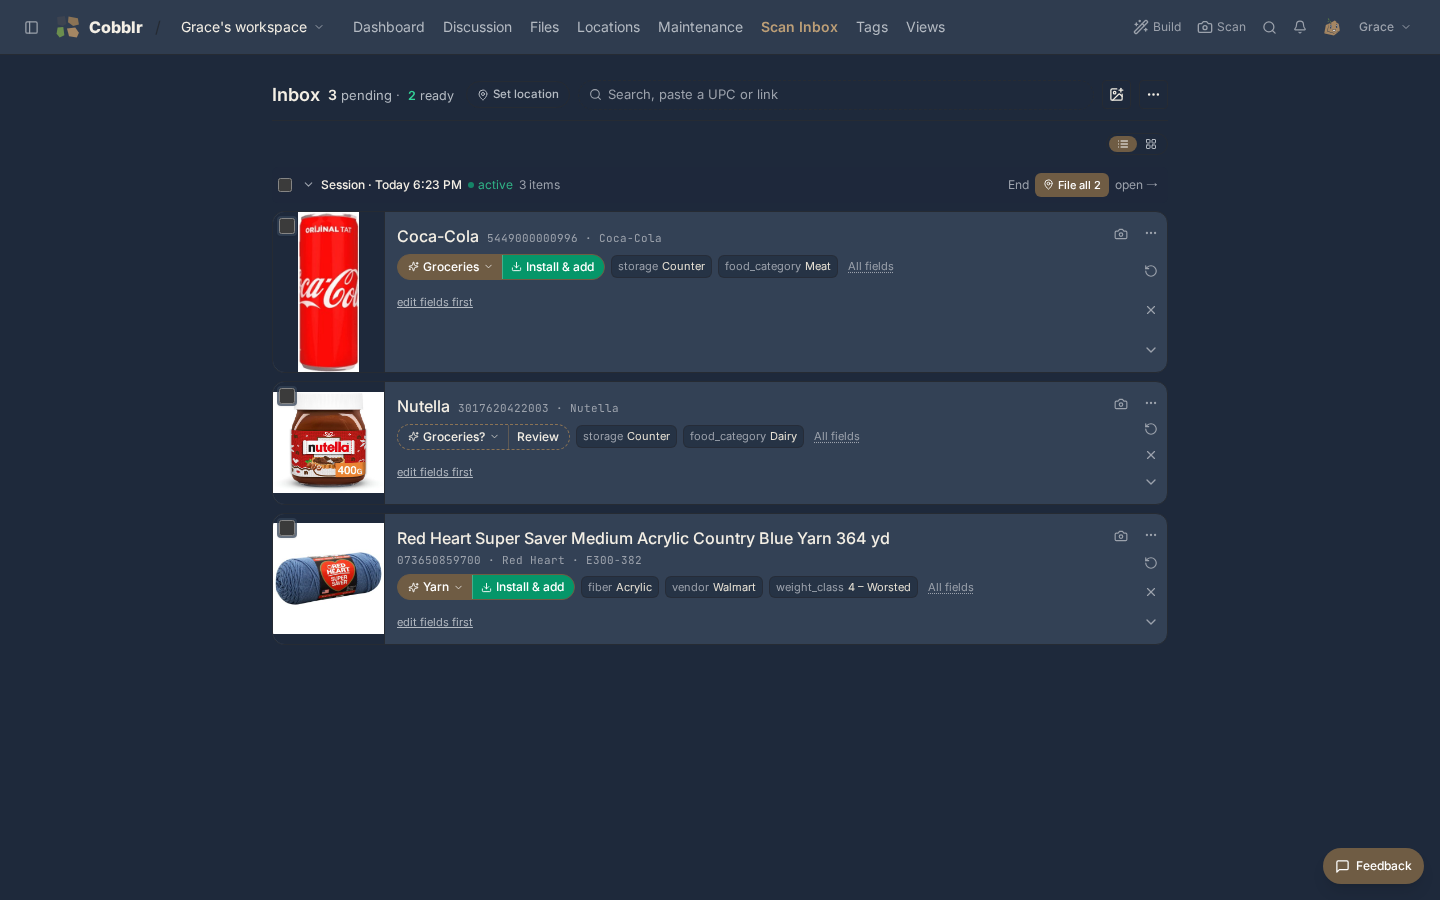
Confirm each item into one of your tables (the picker lists what your workspace actually has, like Yarn or Parts), with a location.
- The card files from one place. The table pill picks any table, Add files there, and the fields worth checking edit right under it. A table you don't have yet installs from that same pill.
- Fields are chips, sized to their values, several to a row. The ones nothing filled in are offered underneath by name. Tap a chip to edit in place. Leave an offered one blank and it goes back on offer.
- The header counts are filters. "8 pending · 5 ready · 3 to review · 2 waiting 2d+": tap one to see just those.
- Set location says where the next scan files, and offers the same location to items that have none.
- One box searches and ingests: type to filter, paste a UPC, links, or a screenshot straight in, or drop a file (images become captures, a PDF or CSV becomes a receipt). The upload button takes both kinds too, and the file settles which.
- A session files as a batch: once identification settles, the header button reads File all 3 as Mugs, or Place & file all when some items still need a location. Items needing a manual look aren't swept in.
- Filing a mixed batch asks per table. The dialog lists each suggested table with a tick: agree about the teas, disagree about the spices, and each group goes where you said. Closing it files nothing.
- File everything (
POST /api/v1/orgs/<slug>/modules/core-scan/inbox/autofile) sorts everything waiting into three piles: added to what you have (recognised by barcode or name, so the count goes up instead of a second record), filed as new, and left for you with a reason. It answers with the plan and writes nothing until you sendconfirm: true. Anything ambiguous is left alone, and a barcode beats a name. - Scan the same code twice and the row's count bumps to ×2 instead of piling up, with a +/- stepper to fix a miscount.
- Rarer tools live behind the ⋯ menu and, per item, a More menu (Split into items, Retake for catalog, Turn into a bin).
Once things are captured, putting them away has its own page: the sorting plan, the put-away walk, and Live Sort.
Inbox details: cards, splitting, moving an inbox
A field with its own control (a colour picker, a yes or no, anything with help text) opens that control rather than a plain text box. A short name and the line under it share a row when they fit ("Baby Carrots" and "from Lidl"). Photo controls sit on the photos themselves: rotate, use as catalog, back to original, and an add tile at the strip's end.
The card is honest about how it got a guess: a route from incidental keyword matches renders as an outlined, tentative chip with no one-tap Add, and batch filing skips it. When AI is configured but the model didn't answer, the card says so and offers a one-tap retry.
When one photo you took on purpose holds several different things, the card offers to split them into separate entries, each cropped and sent to find its own image. A barcode scan never proposes a split over whatever was on the bench behind it. Several of the same thing stays one row with a quantity. A stack from one series gets an offer to tag the whole set.
A whole inbox moves between workspaces or installs: Export to a file, Import on the other side. Everything travels: photos, history, your typed hints, and each item's session, receipt and all.
On a desktop the upload button sits beside the camera button (live scanner vs shots you already have). A phone's row has no camera button because the app's top bar already has one.
Marking something to photograph later
A closed scan card carries a camera button next to the ⋯ menu. It means "I will photograph this myself".
- On a phone, pressing it opens the camera ready for that item, and the picture you take becomes its display photo.
- At a desk, pressing it marks the item instead, for the common case where you spot a bad picture on a computer nowhere near the object. The mark survives anything else you do to the item, including re-running the AI, and clears when you take the photo or press the button again.
- Marked items come to you. Opening the scanner shows one line naming the first one (with a count). Tap it to point the camera at that item, or ✕ for not now. The dashboard lists them under "needs you", each with a Photograph button that opens the camera already pointed at it.
Turning a tote into a bin
When a scan looks like a storage container, its card offers Turn into a bin: one tap creates a container location ("Bin N", renameable), keeping the product's photo, barcode, and brand on the bin's record as its identity. Your name for the bin is never overwritten by the product name. Create & scan into it also makes the new bin the standing file location, so the next scans land inside it.
Categories
Five electrical parts land in one table, told apart by a category, instead of scattering across look-alike tables. Anything placed without confidence goes to your catch-all table, tagged with its category.
- Items scanned together agree on a category. Each one sees what the rest of its batch already proposed and reuses it when it fits, so five monitors do not come back under three names.
- Categories come back at section level: a run of kitchen gear lands in "Kitchen", not "Steamer Baskets" or "Mugs". The aim is a handful across a whole workspace.
- A placeholder is left blank. "unknown", "other" or a literal "undefined" leaves the category empty so you get asked, instead of looking answered.
How the category list stays clean
The list starts empty and grows only from values you confirm, and a near-miss snaps onto a value you already use. Within one session the batch agrees on a single category, so "apparel" and "clothing" file together under the broader label. Case and plurals count as the same. Filing one item at a time still uses that item's own category. A category that outgrows the table can be promoted into a table of its own.
Things you already track
Scan something you already have and an "Already tracked" banner appears instead of a quiet duplicate:
- Everyday stock: +N to it (add to the count), Move here (file into the bin you're standing at), or Link barcode (teach the item this code).
- A one-of-a-kind thing (a vehicle, a tool): "is this the same one?" and a merge that fills only blank fields, so nothing you entered is overwritten.
Buying more of something
Adding to the count asks one question: this buy was as usual, a one-off, a stock-up, or going quicker lately, so a party's worth of one item isn't read as your new weekly rate. If the numbers say you should still have some, it first asks what happened to the ones you had? (still have them, used them faster, they went bad), because eaten and thrown-out look identical in a count and mean opposite things about how much to buy.
Fixing a scan
Wrong name, wrong barcode, a re-run that came back worse, or a catalog photo you'd rather crop from your own shot: Fixing a scan covers all of it. The short version: type a hint and Re-run AI, tap the pencil to fix the code, and Put it back if a second look was worse.
Where a scan result comes from
A barcode works down a chain, and the first tier that answers wins. That is why one install answers a code another misses.
- The check digit is verified first, so an impossible code is an honest miss, not a confident wrong product.
- What this install already knows: a code scanned twice costs nothing the second time.
- A shared resolver on your own network, if the operator runs one. Its answer is final.
- The barcode network, if the operator joined it: open data plus corrections from other installs. A miss falls through, so joining never costs an answer.
- Third-party catalogs, each switchable with its own key, all behind a master switch. Off means no barcode ever leaves the box.
A throttled tier is never remembered as a miss, so one busy moment can't poison a product's record, and a later rescan tries properly.
Receipts
A receipt is a whole haul, and it has its own page: the four ways one gets in (the Receipt button, the camera pointed at paper, a forwarded email, a standing inbound address), how the lines are read and checked against the total, what a session looks like in your inbox, and what a confirmed receipt fills in on your records.
A hardware scanner
Plug in a USB or Bluetooth barcode scanner and every Cobblr page picks it up: scan a UPC from anywhere and it lands in the inbox, with a toast that jumps you there. Get a 2D scanner (reads QR codes too, which drives the filing funnel). See Barcode & QR scanners.
Your phone and your desktop
At a desktop, hit Pair phone: the desktop shows a QR, you scan it, and the phone is signed in on the spot, no password typed. Everything it scans lands in the inbox your desktop is showing.
Privacy
Barcode lookups reach third-party catalogs. Self-hosted, you control exactly which, or turn them all off. The optional shared barcode reference is off by default. See Self-hosting -> Privacy.