Locations
Locations are the places your things live, kept as a tree. A workshop holds shelves, a shelf holds bins, a bin holds parts. You build the tree to match your space, and you define it only once.
To add one:
- Open the New location form (or add one inline from any form that asks for a place).
- Pick a Kind: Area (a place) or Container (a bin you can carry).
- Name it.
BinbecomesBin 17on its own, andShelf 1-5adds a whole run. - Drag it into order by its handle. That order is kept everywhere.
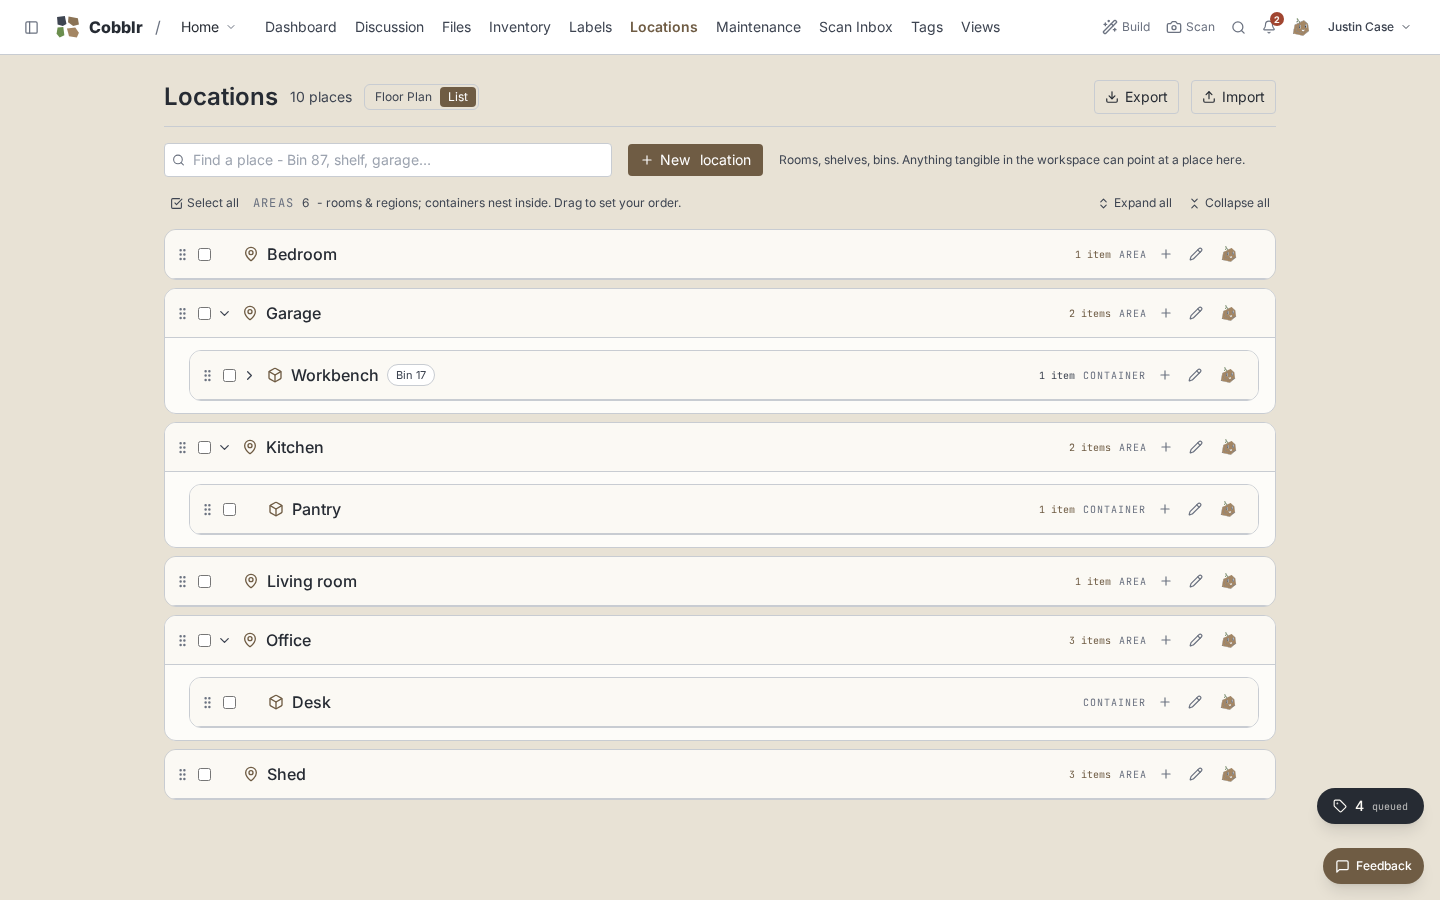
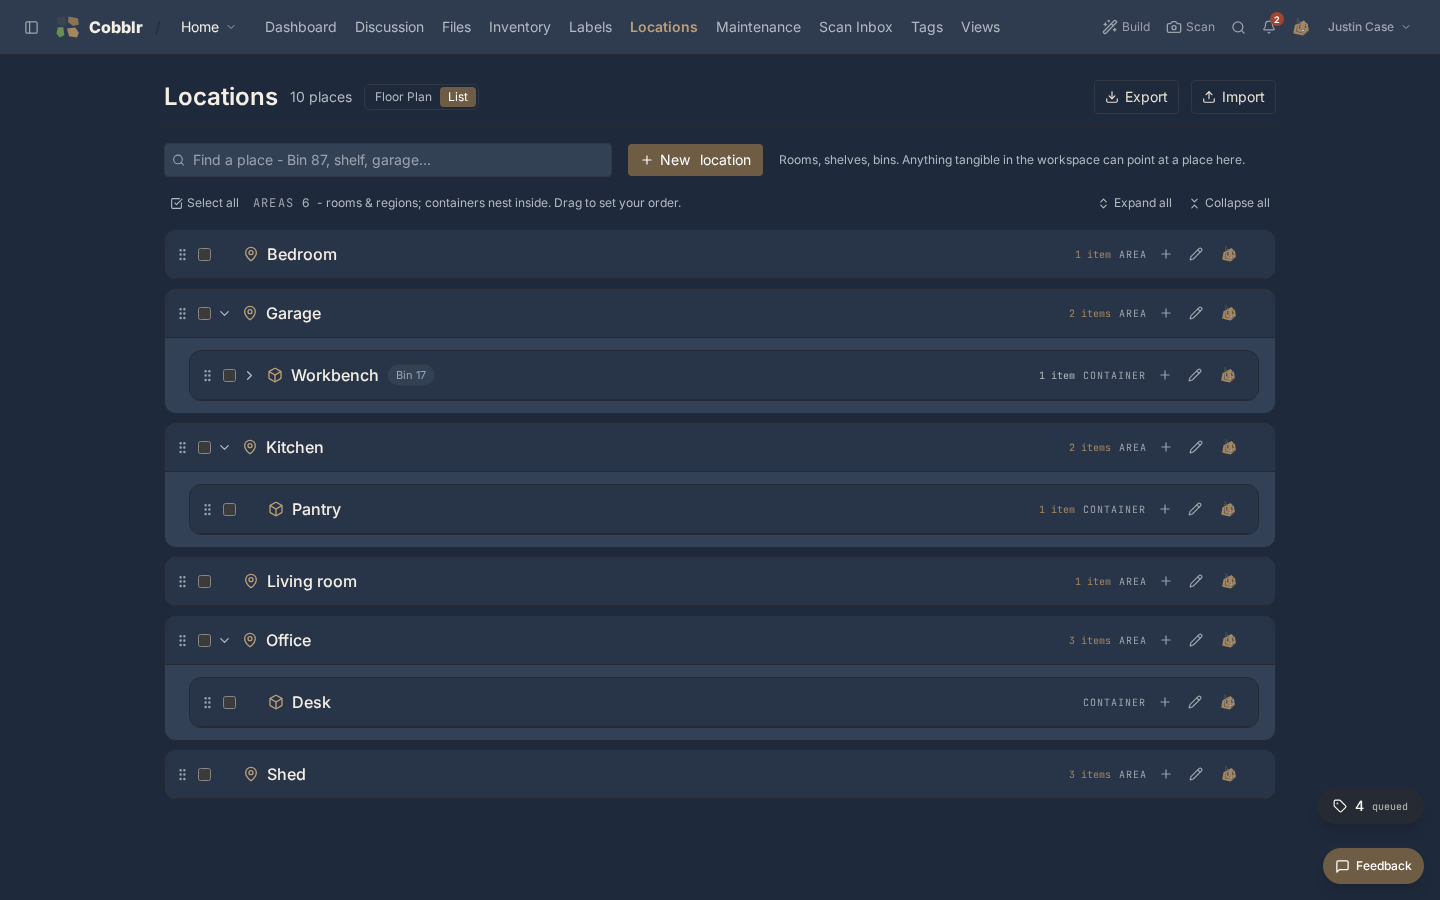
Areas and containers
- An area is a place, named at whatever level is useful: the building, the rooms in it, a shelving rack, a single shelf, nested as deep as you want. Areas are the structure of where things are.
- A container is a holder you put things into and can move around: a bin, a box, a tote. It sits in an area, but it is the vessel, not the place, and it travels with its contents.
- Containers number themselves.
Bingives youBin 17,Drawergives youDrawer 18, the next number free across all your containers, so each is unique to label and scan. Type your own number and it is kept as written. - Scans work down this tree like a funnel. Each scan narrows one level, area to container to item. QR labels covers the flow.
Creating a location
- Kind is two buttons, Area and Container, each showing what it means, not a dropdown. Cobblr pre-selects one from the name as you type ("White Bookshelf" or "Kitchen Drawer" pick Container, "Storage Room" or "Workshop Corner" pick Area). That only sets the default, so tapping a button yourself always wins.
- Need a place partway through another form, a part whose bin does not exist yet? The creator opens inline, right where you are, instead of stacking a second popup.
- For a rack's shelves, type a range like
Shelf 1-5. Cobblr asks which end you are counting from, with counting up from the floor already chosen.
- Shelf 1 is the bottom shelf when you count from the floor, on every rack you own, so "shelf 1" is a height you can walk to and adding a shelf on top later renames nothing. The list draws the rack as you see it, top shelf at the top.
- Counting from the top is one tap away for a rack already labelled that way, and you can drag any group into any order afterwards.
- Drawers are left alone, since drawer 1 is almost always the top one.
Keeping them in order
- Natural number order everywhere:
Bin 2comes beforeBin 10. - Drag any location by its handle to order it within its group. That order holds everywhere locations appear: the dropdown on a part, machine, or asset, the Labels browser, and any module that lists your places.
- Areas (rooms and regions) and Unsorted containers (loose bins not yet in an area) get their own headings on the Locations page, so the two kinds never blur.
- Or ask. Cobb orders one parent's children when you say which comes first, with the same result dragging gives.
How the order stays consistent
The Locations page and the Labels browser draw from one shared tree, so their structure and order cannot drift apart. Cobb does one group of siblings at a time and tells you when you have mixed locations from different parents rather than quietly renumbering both. Dragging and asking are the only two ways the order changes, so editing a location's position directly is refused with a pointer to these.
Reading the list
- Floor Plan / List is a small switch in the title row. The search box sits under the title with its one-line explanation beside it, and Expand all / Collapse all share the Areas line.
- The list folds. Rooms open to their racks and bins. Inside each rack stays closed behind a chevron with a summary ("5 inside, 23 items") until you open it, and what you open stays open, per workspace, across refreshes.
- Find a place narrows the tree to matches and the path to them. "shelf 3" gives you shelf 3 of every rack and nothing else.
- A closed rack shows its shelves as chips after its name, so the row reads
Rack 1 · Shelf 1 · Shelf 2 · Shelf 3 · Shelf 4 · Shelf 5and each chip opens that place. Past eight, "+N more" unfolds the rack. - A numbered run is one row. Rack 1 to Rack 15, or Bin 20 to Bin 60, draws as one closed row ("Rack 1 to 15, 15 racks, 75 inside") that opens to the individual racks. Tick its box to select every rack in it for a bulk print or delete without unfolding.
Folding, chips and runs in detail
Folding makes a house of rooms, racks and shelves one screen instead of a thousand rows. Adding something to a closed rack opens it so you can see what you just made.
Chips read with the name, not across at the right edge, because what is inside a place is the next thing you want to know after which place it is. The kind label and the row's buttons stay at the right edge. A chip with its own contents carries a small count. Phones keep the count instead, since the chips would wrap under the name.
A run that is everything inside its parent stays plain, so a rack's shelves are one click away rather than two. Runs read in your order, so a bottom-up rack still shows shelf 5 first.
Floor plans
A location's detail page can hold a to-scale 2D plan, and every rectangle on it is one of your locations. To draw one:
- Give the room its real size in whatever unit you think in (
33ftby24ft, or7.3m). - Draw interior walls with gaps for doors, and place your racks, benches, and bins where they stand.
- Fill a parts rack with + grid in edit mode: rows, columns and a naming
scheme (
A1…C8, orBin 1…24) create and place the whole set at true scale in one shot, instead of drawing 24 bins by hand. - Or hit describe and say it in a sentence ("3 bays, 24ft deep, partition, bay 3 is 11ft"). Cobblr drafts the plan and you drag it true.
- With a plan drawn, the Locations page opens on the Floor Plan tab. Pick any room or container from the chips to see its layout. The List tab holds the tree, and a fresh workspace with nothing drawn opens there instead of on a blank canvas.
- Click a rectangle to open it. In edit mode, drag to move it or corner-drag to resize.
- Dropping something inside a box files it there. The plan is a filing surface, not a picture.
- Each layout has its own snap grid, set in edit mode: a coarse 100 mm default for the garage, 42 mm for an exact Gridfinity drawer, or whatever one square means to you.
- Plans hold the things themselves, not only sub-bins. A machine, an asset, or a part filed here can each take a cell. Anything here but not yet placed waits in an "items here, not placed" strip until you drop it.
More about plans
Rooms draw top-down, and containers draw as a front elevation so drawers and shelves show at true scale. The everyday view shows no numbers, and dimensions appear only while you edit. Positions and sizes snap to the grid, and the panel reads sizes in grid units next to the millimeters. Each bin from a grid is an ordinary location afterward, ready to scan, label, and fill. A placed rectangle can carry a photo of the real thing or a silhouette outline, so the wrench drawer's plan can look like the drawer. Describe also places furniture you name, matched to sub-locations you already have, and never creates or moves anything you placed yourself.
Whole houses
A building does not get one plan. On a house (an area with no plan of its own), hit Split into floors:
- Each floor gets its own outline and a tab on the house's page ("Main floor", "Basement").
- Rooms draw on a floor as visible rectangles. Click one to zoom into its own plan in place, fully editable.
- Dropping something inside a room's rectangle files it into that room and lands it on the room's plan at the same spot.
Working from the plan
Every plan's toolbar has three buttons:
- Scan into opens the camera already filing into that space. From inside a room it arms that room directly.
- Heat shades each box by how much is stored in it, counting everything inside a room, so the darkest boxes are where your stuff actually lives.
- Print opens a paper-white copy in a new tab, one page per floor, ready for the wall.
Members can view a read-only plan through the portal, at
/portal/<workspace>/locations/<id>/plan.
Assigning a location
Every place you choose a location uses the same searchable drill-down.
- Your areas show as a grid of chips. Tap a name to pick it, or tap its count to open that area's containers in a panel right there, one area at a time, with a shelf's bins indented under the shelf.
- Loose containers groups the containers that live in no area.
- A location already set opens to view when you go to change it.
- Choosing a parent when you edit a location works the same way and hides that location and everything under it, so a shelf cannot become its own grandparent.
Where the picker used to differ
Picking a location on a record, an asset or a machine used to drop you into a flat dropdown listing every location in the workspace, while other screens gave you the drill-down. They all give you the drill-down now.
Using them
- Shared across everything. Inventory parts, assets, and machines all point at the same set of places, so "where is it" means the same thing everywhere.
- Group or filter any view by location: everything on Shelf 3, everything in the garage.
- Paired with QR labels, a location can carry a code you scan to see what is meant to be there.